[ad_1]
As winter approaches, it’s time to prepare for the colder months ahead.
With freezing temperatures just around the corner, one of the most important tasks on your to-do list should be learning how to winterize pipes in your home’s plumbing system.
This saves you from the headache of frozen pipes and helps you avoid costly repairs in the long run.
This guide will walk you through the essential steps of winterizing your pipes, ensuring that your home is protected from the cold.
❄️ Key Takeaways
- Proper insulation and maintenance of pipes are essential to protect your home from costly damages due to frozen pipes.
- Preventative measures such as allowing faucet dripping, opening cabinet doors, and scheduling annual plumbing evaluations can help protect against freezing temperatures.
- Regular maintenance of water heaters during winter months helps maintain their efficiency and safety for efficient performance.
❄️ The Importance of Winterizing Pipes
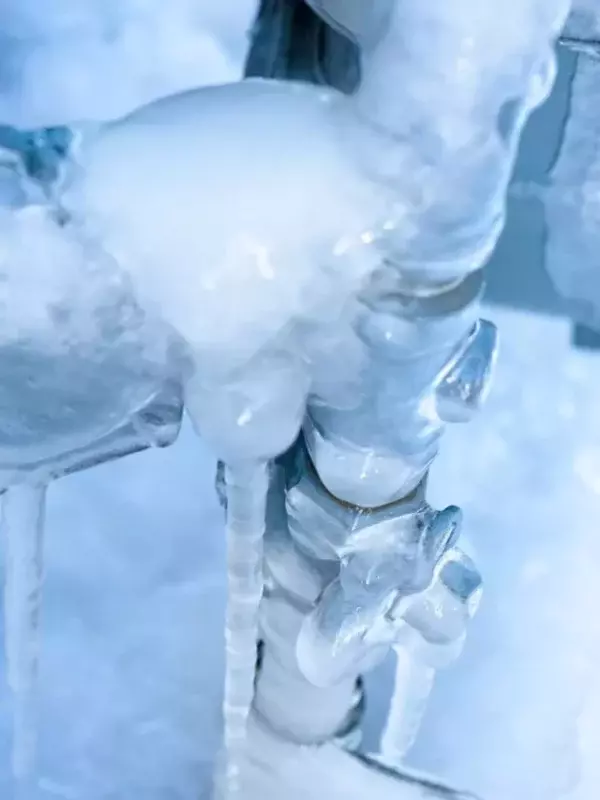
Preventing your plumbing system from freezing is critical, as it can result in burst pipes and costly damages.
As water freezes, it expands, producing pressure that can cause pipes to crack or burst, especially if they are not properly insulated.
Additionally, freezing temperatures can cause hot water tanks to malfunction, leading to potential damage.
Winterizing your household plumbing involves the following steps:
- The winterizing process involves emptying the pipes and fixtures
- Insulating pipes
- Sealing air leaks and cracks in exterior walls
- Maintaining your water heater
These preventative measures can save you the trouble of combatting frozen pipes and their associated costly repairs.
❄️ Steps to Winterize Interior Plumbing
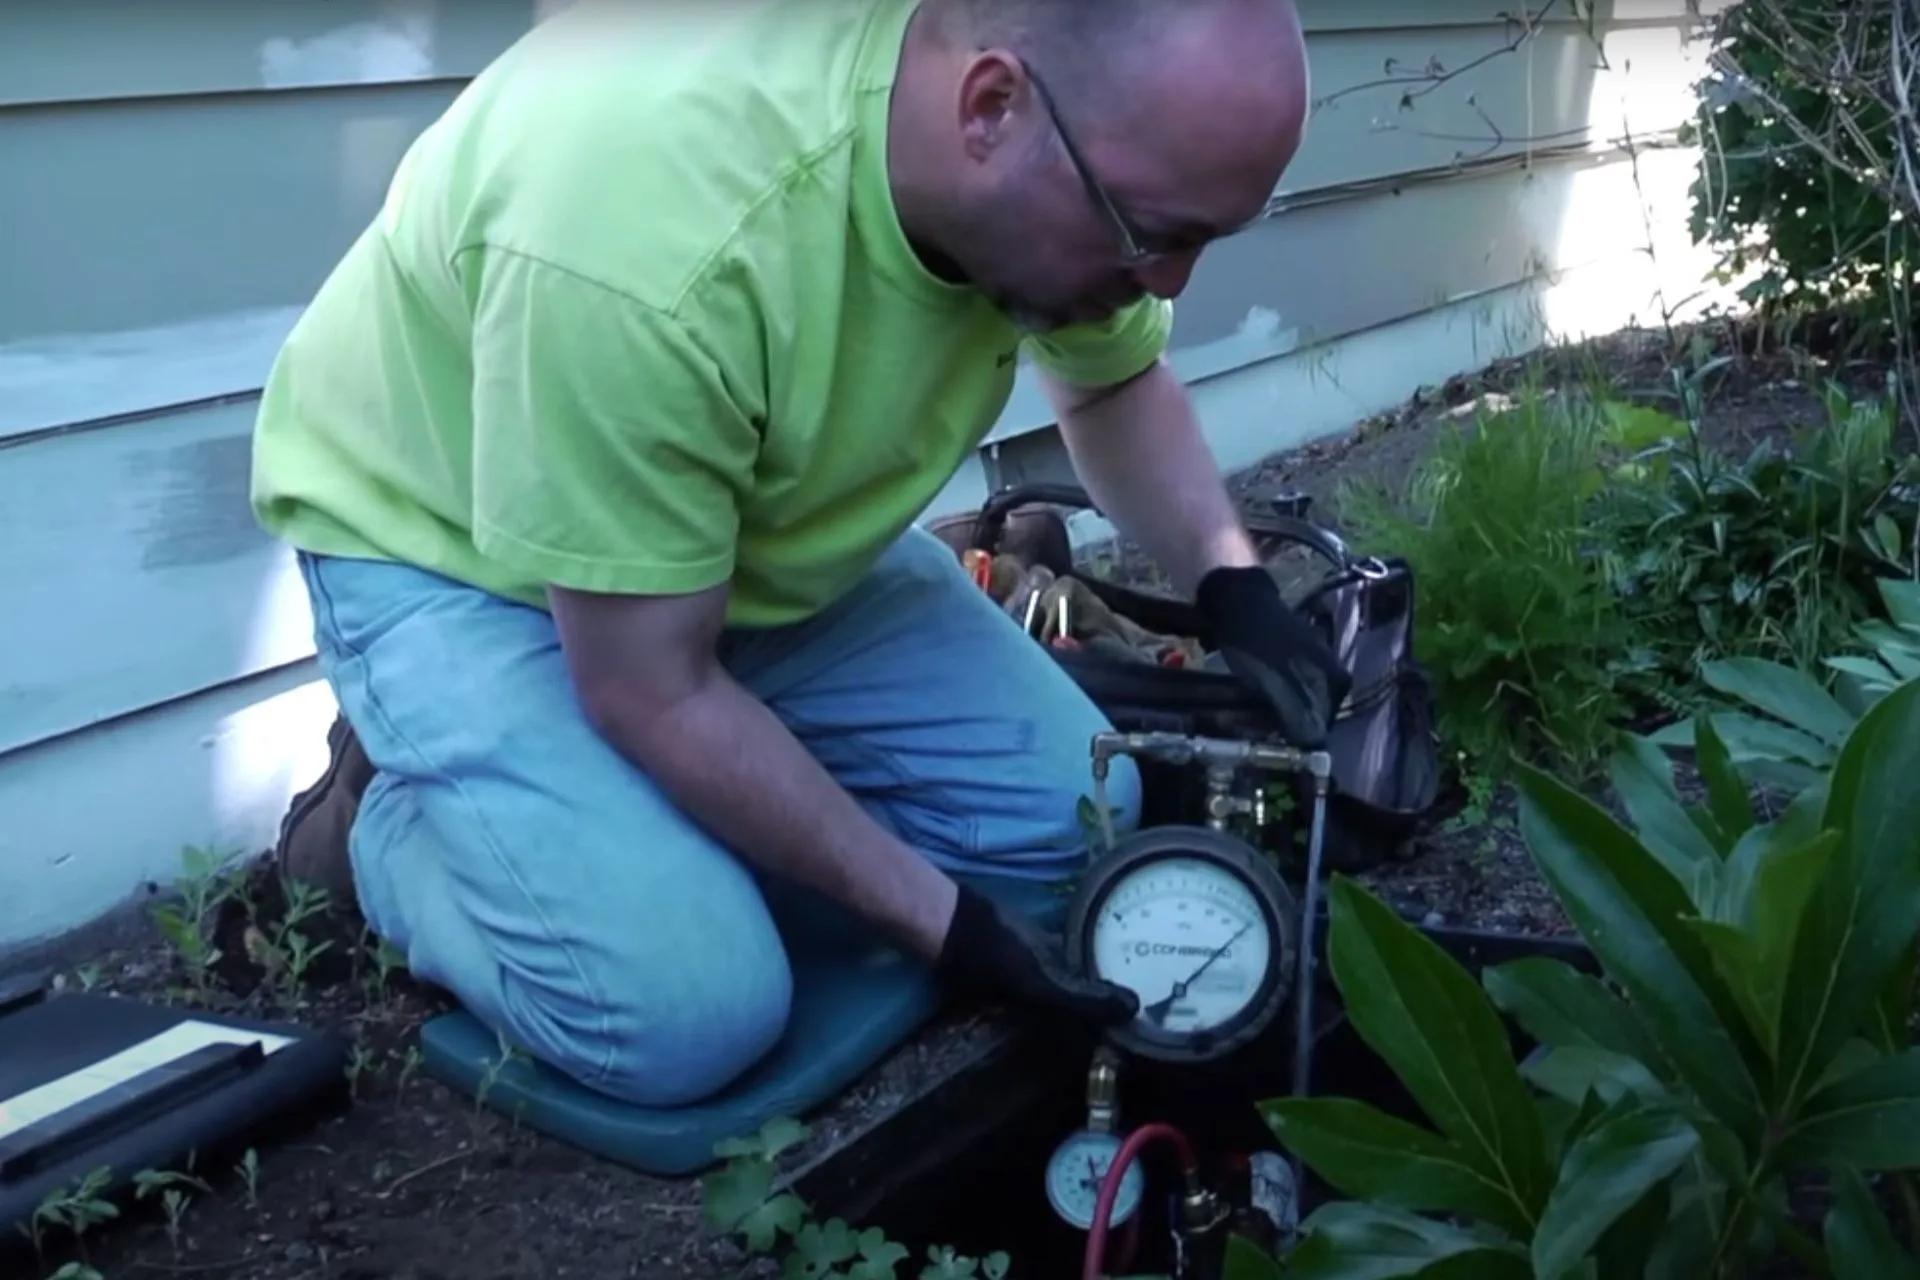
The winterization process, including winterizing plumbing, consists of the following steps for the interior plumbing:
- Shut off the main water supply valve.
- Drain pipes and flush toilets.
- Insulate pipes with foam pipe insulation.
- Seal any air leaks and cracks in exterior walls.
These steps are vital for safeguarding your home’s plumbing system throughout the chilly winter months.
? Shut Off the Main Water Supply Valve
Winterizing your interior plumbing begins with shutting off the main water supply valve.
This essential step prevents water from freezing within the pipes in case of minor leaks or running water appliances.
The main water valve is typically located on the exterior perimeter of your house, in either a basement, garage, or crawl space.
Simply turn it off, and then proceed to open all faucets within the home to drain the system.
? Related Reading: How to Locate and Operate an Outside Water Shut-Off Valve
? Drain Pipes and Flush Toilets
Draining pipes forms an important part of the winterization process, which aids in avoiding freezing and related costs.
First, shut off the water supply valve adjacent to each toilet and flush the toilet until all water has been emptied.
Next, pour antifreeze into all shower, tub, floor, and sink drains to protect your pipes from freezing further.
In addition to draining the pipes, it’s important to flush all toilets in your home to eliminate any remaining water in the tanks.
This step ensures that no standing water is left in your plumbing system, which can freeze and cause damage to your pipes and fixtures.
? Insulate Pipes with Foam Pipe Insulation
Pipe insulation is vital to avoid freezing caused by the cold temperatures around, which could lead to damages, leaks, and burst pipes.
Foam pipe insulation is recommended for insulating pipes, as it provides a protective barrier against the cold.
If you’re unsure whether your pipes are properly insulated, it’s advisable to hire a licensed plumber to perform an inspection.
They can help identify any areas that may need additional insulation and recommend the best course of action to ensure your pipes are well-protected during winter.
? Seal Air Leaks and Cracks in Exterior Walls
Another vital step in winterizing your interior plumbing is to seal air leaks and cracks in the exterior walls.
These gaps can allow cold air to reach your pipes, increasing the risk of freezing.
To begin, follow these steps:
- Identify any air leaks and cracks in exterior walls.
- Use caulking to fill in smaller gaps and cracks.
- For larger openings, consider using expanding spray foam insulation.
By sealing these air leaks and cracks, you can help protect your pipes from freezing during winter.
In addition to sealing gaps and cracks, it’s important to seal crawl space vents and access doors to protect your pipes further.
By taking these steps, you can help ensure that your interior plumbing is well-protected from the frigid outside air during winter.
❄️ Preparing Exterior Plumbing for Winter
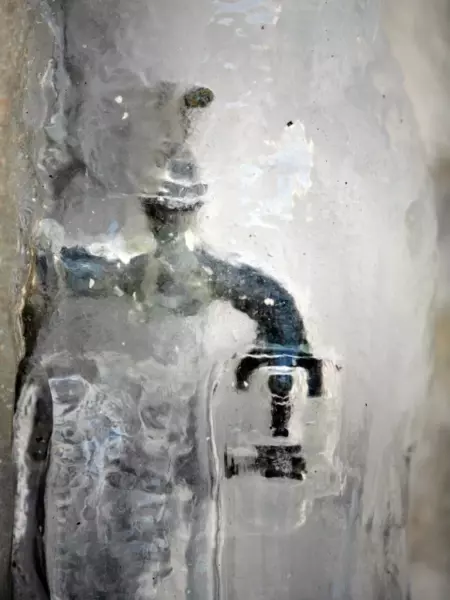
Having covered the interior plumbing, let’s now prepare your exterior plumbing for the approaching cold months.
This includes disconnecting garden hoses and sprinkler systems, shutting off valves to outdoor faucets, and cleaning gutters and downspouts.
These steps play an important role in preventing pipes from freezing and ensuring the overall health of your plumbing system.
? Disconnect Garden Hoses and Sprinkler Systems
Prepping your exterior plumbing for winter starts with disconnecting garden hoses and sprinkler systems.
This prevents water from entering and freezing within the pipes, which could lead to cracks and damage.
To do this, simply disconnect garden hoses and fittings from the hose bibbs, drain the water out, and store them securely in a garden shed or garage.
? Shut Off Valves to Outdoor Faucets
To prevent freezing of the pipes and the subsequent damage, it’s necessary to close the valves to the external water supply.
To do this, turn off each outdoor faucet’s water valve.
This ensures that no water can enter the pipes, reducing the risk of freezing and damage during cold weather.
? Clean Gutters and Downspouts
An important part of preparing your exterior plumbing for winter is cleaning gutters and downspouts.
This prevents water from entering the pipes and decreases the risk of ice build-up.
To do this, remove any leaves and debris that could impede water flow and check the gutters and downspouts for any blockages or clogs.
Ensuring proper water flow and preventing ice build-up in your gutters and downspouts can help protect your home’s plumbing system during winter.
❄️ Identifying and Insulating Vulnerable Pipes
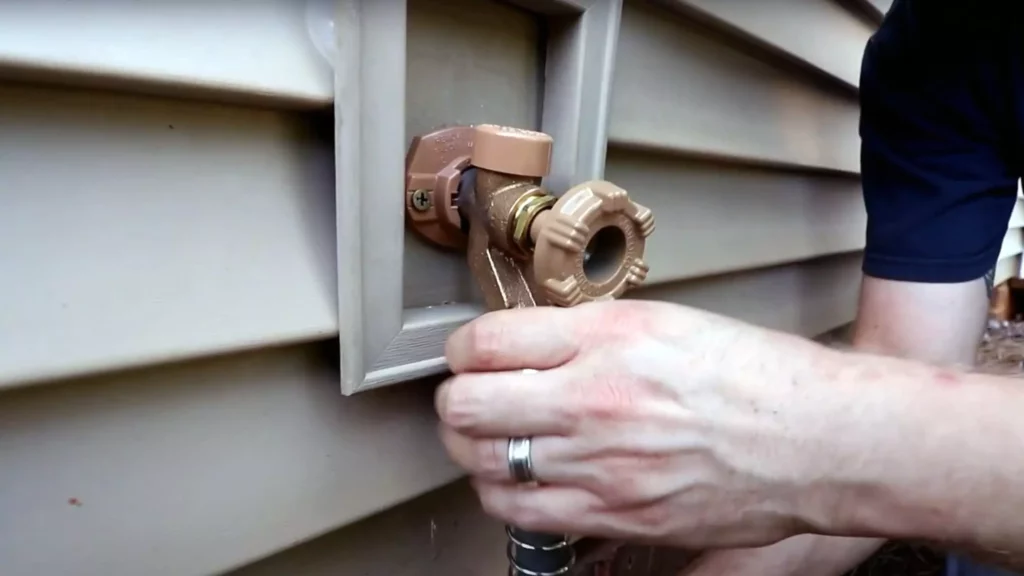
Identifying and insulating vulnerable pipes is necessary to protect your home’s plumbing system further.
This includes:
- Locating pipes in unheated spaces
- Wrapping them with heat tape or heating cables
- Monitor indoor temperature to ensure your pipes are well protected from freezing temperatures.
By taking these steps, you can minimize the risk of freezing pipes and costly repairs.
? Related Reading: What is an Outdoor Freeze Proof Faucet, and How Does It Work?
? Locate Plumbing Pipes in Unheated Spaces
Protecting vulnerable plumbing pipes begins with identifying those pipes located in unheated spaces like exterior walls, uninsulated pipes, and pipes in unheated areas.
These pipes are at a higher risk of freezing and should be given priority attention when winterizing your plumbing system.
Insulating pipes is the most effective way to prevent freezing. This can be done with foam.
? Wrap Pipes with Heat Tape or Heating Cables
Heat tape or heating cables are effective methods for insulating vulnerable pipes against freezing temperatures.
Heat tape is an electrical heating element designed to wrap around pipes, while heating cables offer greater flexibility for complex pipe configurations. Both options provide an extra layer of protection against the cold.
To wrap pipes with heat tape or heating cables, start at the plug end and run the tape or cable along the entire length of the pipe, ensuring that it is in full contact with the pipe’s surface.
If you’re using fiberglass insulation, wrap it around the pipe and tape it for added insulation, but do not insulate the heat tape itself.
Always refer to the manufacturer’s instructions for installation and usage.
? Monitor Indoor Temperature and Keep Garage Door Closed
Preventing frozen pipes requires monitoring the indoor temperature and closing your garage door.
Maintaining a consistent indoor temperature can help protect your pipes from freezing temperatures.
Additionally, keeping the garage door closed helps maintain the warmth inside your home, further safeguarding your plumbing system.
❄️ Maintaining Your Water Heater During Winter
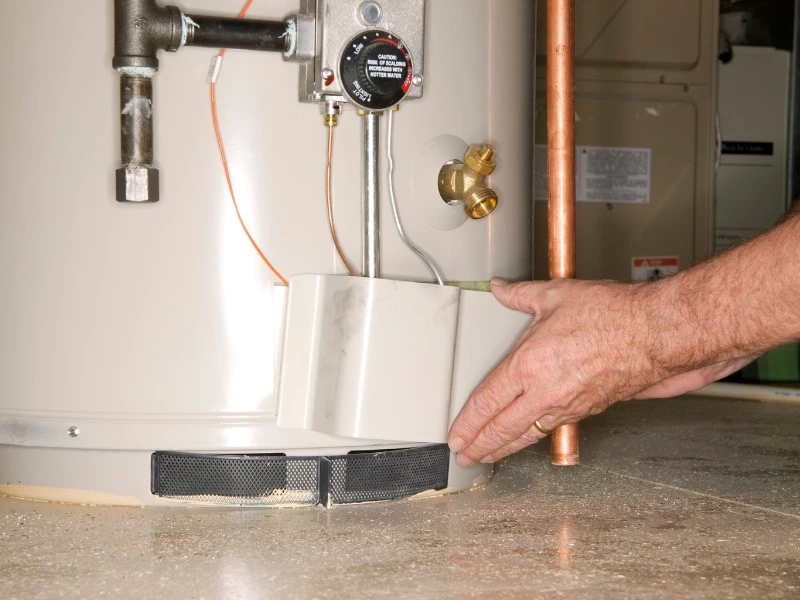
Alongside winterizing your pipes, maintaining your water heater during the winter months is also important.
This includes adjusting the water heater settings, draining the hot water tank, and protecting the heating elements.
By taking these steps, you can ensure that your water heater functions efficiently and safely throughout the winter.
? Adjust Water Heater Settings
To maintain its efficiency and safety, adjusting your water heater settings during the winter months is important.
To do this, follow these steps:
- Deactivate the power at the circuit breaker.
- Remove the access panel for the thermostat.
- Use a screwdriver to raise or lower the temperature setting.
- Replace the insulation and close the access panel.
Adjusting the settings helps prevent the water heater from working overtime and ensures that it is functioning efficiently.
? Drain the Hot Water Tank
Another important step in maintaining your water heater during winter is draining the hot water tank.
To do this, follow these steps:
- Turn off the cold water supply valve.
- Attach a hose to the drain valve at the bottom of the tank.
- Open the drain valve and allow the tank to drain completely.
Draining the tank helps remove sediment and buildup that can affect the efficiency and lifespan of your water heater.
? Protect Heating Elements
For the maintenance of your water heater’s efficiency and safety, it’s essential to protect its heating elements.
To ensure proper branch circuit protection and prevent overheating and potential fire hazards, inspecting the heating elements and taking necessary precautions is crucial.
Additionally, protecting against contamination is critical to prevent heater malfunction, as contamination can result in corrosion and other damage to the heating element.
? Related Reading: Your Quick Guide to Tankless Water Heater Maintenance
❄️ Preventative Measures for Freezing Pipes
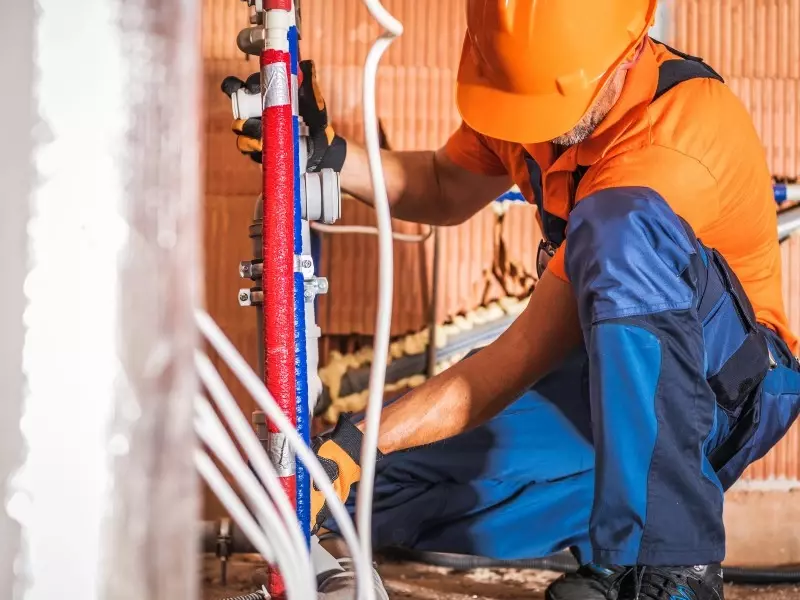
Besides winterizing your plumbing system, several preventative measures can help shield your pipes from freezing temperatures.
These include allowing faucet dripping during cold snaps, opening cabinet doors to circulate warm air, and scheduling annual plumbing evaluations.
To winterize your plumbing effectively, consider exploring some plumbing winterization tips.
By taking these steps, you can minimize the risk of freezing pipes and costly repairs.
? Allow Faucet Dripping During Cold Snaps
Permitting a slight but continuous flow of water from faucets during cold snaps helps to prevent pipes from freezing.
To facilitate faucet dripping during cold spells, slightly open the faucet and allow a continuous, albeit slight, flow of water to drip from the faucet.
Be sure to check the faucet periodically to verify that the water is still dripping, as this will help maintain the flow and prevent freezing.
? Related Reading: At What Temp Should I Drip My Faucets?
? Open Cabinet Doors to Circulate Warm Air
Preventing freezing can be achieved by opening cabinet doors under your bathroom and kitchen sinks to allow warm air to circulate around the pipes.
By facilitating air circulation, you can help protect your pipes from freezing temperatures and minimize the risk of damage.
? Schedule Annual Plumbing Evaluations
To avoid potential and costly damages to your home’s infrastructure, it’s advisable to schedule annual plumbing evaluations.
By having a qualified plumber inspect your plumbing system, you can detect potential issues before they become more severe and expensive, ensuring that your plumbing system is operating correctly and efficiently.
Be sure to inquire about the plumber’s qualifications and experience and obtain references from previous customers.
❄️ Summary
In conclusion, winterizing your home’s plumbing system is crucial in preparing for the colder months ahead.
By following the steps outlined in this guide, you can protect your pipes from freezing temperatures, prevent costly repairs, and ensure that your home’s plumbing system remains in optimal condition throughout the winter season.
Remember, a well-maintained plumbing system saves you money and gives you peace of mind during those cold winter months.
? Looking for more information about managing your home’s plumbing? Check out our other plumbing articles!
❄️ Frequently Asked Questions
How do I weatherize my pipes for winter?
To weatherize your pipes for winter, insulate them with sleeves or foam insulation, wrap them in heat tape, seal any cracks, and disconnect outdoor hoses.
Keep the heat on and check for signs of frozen pipes.
How do you winterize pipes inside?
To winterize pipes, shut off the main water valve and then turn off the water pump and the water heater.
Use foam pipe insulation sleeves on all accessible water supply lines, open all drain valves and taps, use air compressors to blow out excess water, and fill fixtures with an antifreeze solution.
This will help protect your pipes from freezing and bursting during cold weather.
It is important to take the necessary steps to winterize your pipes to avoid costly repairs.
Will antifreeze keep pipes from freezing?
Antifreeze should never be used to prevent pipes from freezing, as it can contaminate the water system.
Instead, remove outside hoses and be sure faucets are drained and shut off prior to freezing temperatures.
Can I insulate my pipes myself, or should I hire a professional?
It’s best to hire a professional plumber to insulate your pipes properly; while you can do it yourself, an inspection is necessary for proper insulation.
How often should I schedule a plumbing evaluation?
For optimal plumbing health, it’s best to schedule an annual plumbing evaluation. This will help detect any potential issues before they become worse and also ensure your system is functioning properly.
[ad_2]
Source_link


