[ad_1]
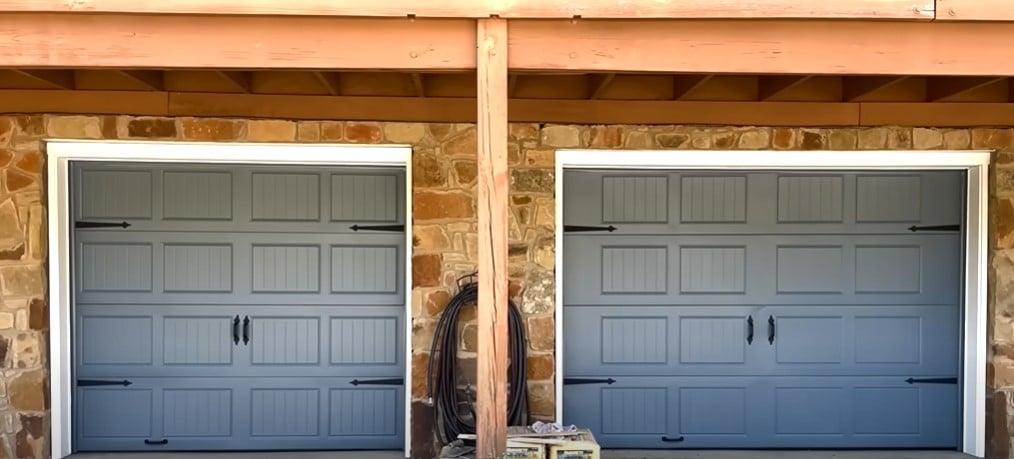
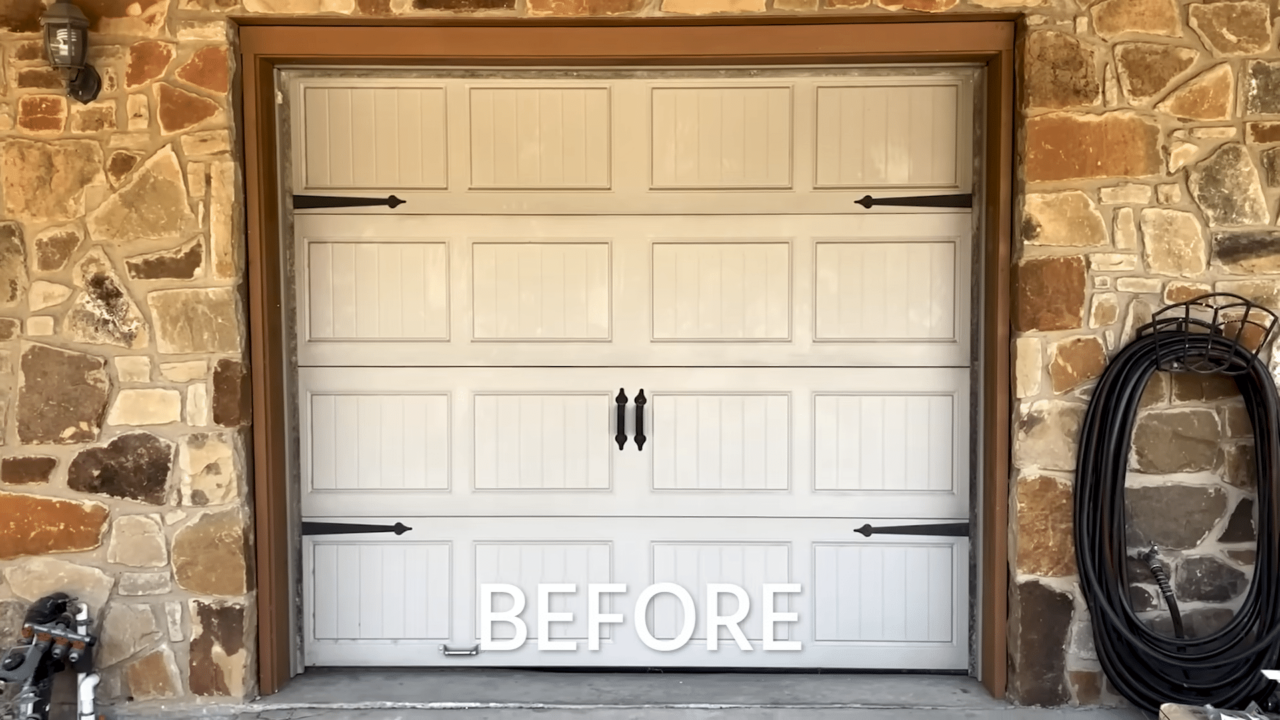
In this video I’m tackling a project that will drastically improve the curb appeal of my home. Today I am painting my garage doors. This is a one day project and is very simple so if it’s been on your to do list, then I hope me documenting my process helps you get the confidence and motivation. Lets get into it.
Let’s Repaint the Garage!
Things I Used to Upgrade my Garage Door
- Paint
- Dish soap
- Scrub Brush
- Self Stick Drap
- Paint Sprayer
Step 1: Preparing the Garage Doors to Paint by Removing Hardware
First let me give you a clear view of my set up. I have two doors and started off by clearing out everything I could in front then using my blower to get all the loose dirt and grass out of there. I don’t want it blowing on the doors when they have wet paint.
Next I started removing things that I didn’t want painted….such as the keypad. On most of these you remove the battery door and there is a screw to unthread.
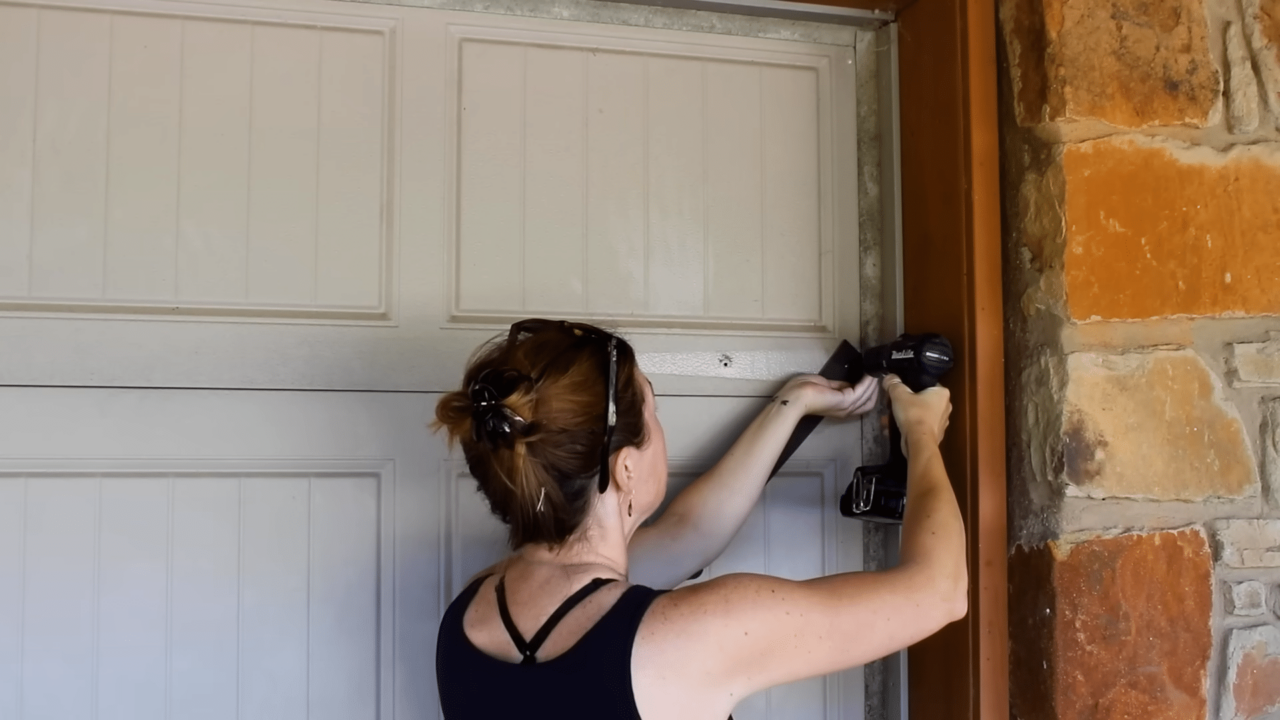
Next I started removing the hardware. These guys are just decorative metal straps screwed on. However, after the first one I stopped because the next step is to thoroughly clean the doors and I figured if I left the hardware on, they would get a good scrub at the same time.
Step 2: Cleaning the Doors
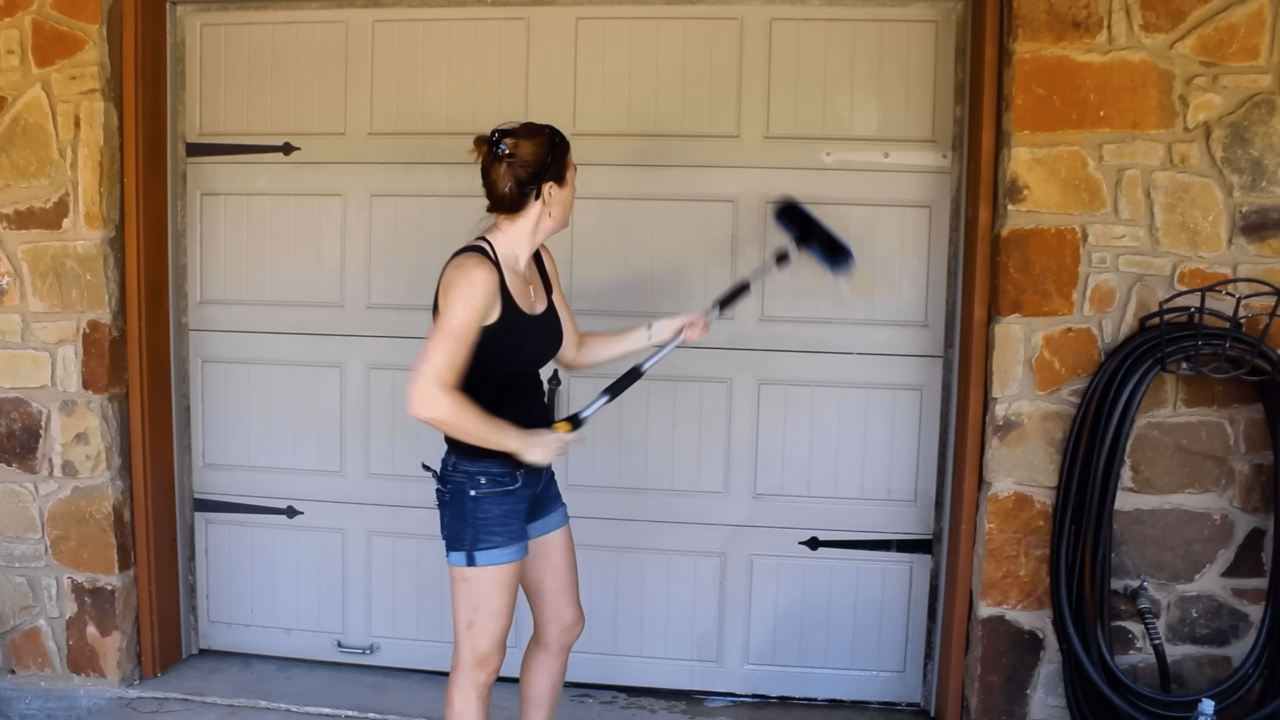
Ok, don’t judge me for how dirty these doors are. It’s never even crossed my mind to give my garage doors a wash, but it’s been added to the regular to do list now! For this step, I used a bucket with some dawn soap in it. I recommend buying a scrub brush with a handle to make it easier. In fact, this one can connect to a hose which is pretty cool. Although I didn’t use that feature. I made sure to get the weather stripping back to white as well because that will be taking paint but paint won’t stick to anything with dirt on it.
After the scrub, I followed it up with a good rinse to get all the soap off before I started taking off all the hardware. Now I had to spot clean behind the hardware when I removed it so you can make the call on if you want to leave it on or not. Be careful if you run bare hands over the holes because some have metal frayed up from punching the hole.
Next I dried it off. You can use a blower or a rag, you just want a nice dry surface for tape and paint to stick to. A tip though is to raise the door up to a good working height instead of benching down low when you don’t have to.
Step 3: Protecting the House from Paint
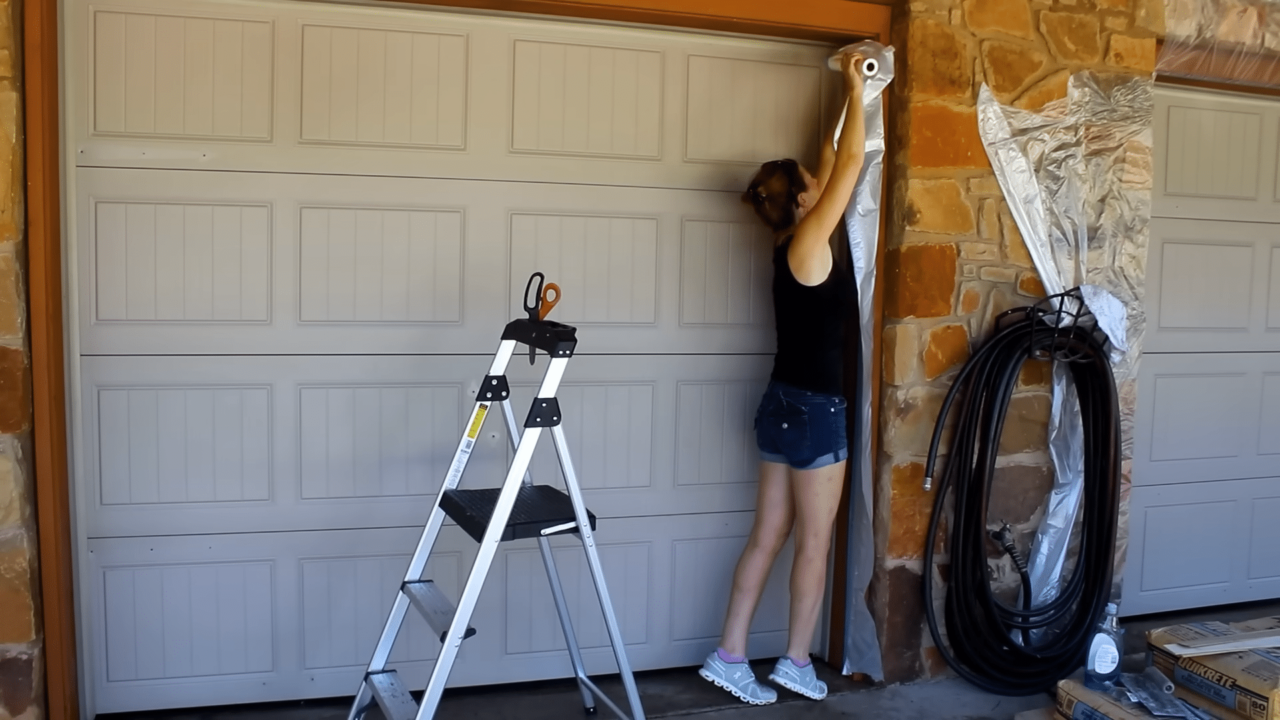
Ok, now lets protect the house. Although I hate the color of this stone, I don’t want it blue. You can pick up a roll of this awesome clingy plastic that has tape already built in on the top. This way all you have to do is unroll it and stick it where you want it. My plan is to paint the door and the weather stripping all the same color but then paint the trim a different color. I’m masking off starting around the middle of the trim so I don’t have to worry about being precise. This means I will overspray paint onto the trim then paint over it later.
For now, I walk this roll all the way around until I get to the bottom. It’s very quick and easy. I cut off the excess, then unfold the drap. Know that this drap length comes in different sizes. You want at least 12” to protect your house. My store only has 18” so that’s why mine is larger. It does a great job at self sticking to things like this stone but you can always use a few pieces of masking tape as well to make sure it doesn’t blow up as you’re painting.
While having the tape out I went to the bottom side of the door and masked off the bottom gasket. Again, lifting the door so I can work while standing up instead of crouching down…..I first make sure the gasket is completely dry but then I use some exterior masking tape to stick right up to the starting of the garage door.
Step 4: Protecting the Concrete from Paint
Alright we have the house, and the gasket protected, last thing to protect is the concrete. I always keep a large sheet of cardboard in my garage for situations just like this. I grabbed it, then laid it down right up to the lip of the door’s opening. If you don’t have a large sheet like
this then taping a few boxes together would work as well. Or laying down another strip of the plastic wrap.
Step 5: Starting to Paint the Garage Door
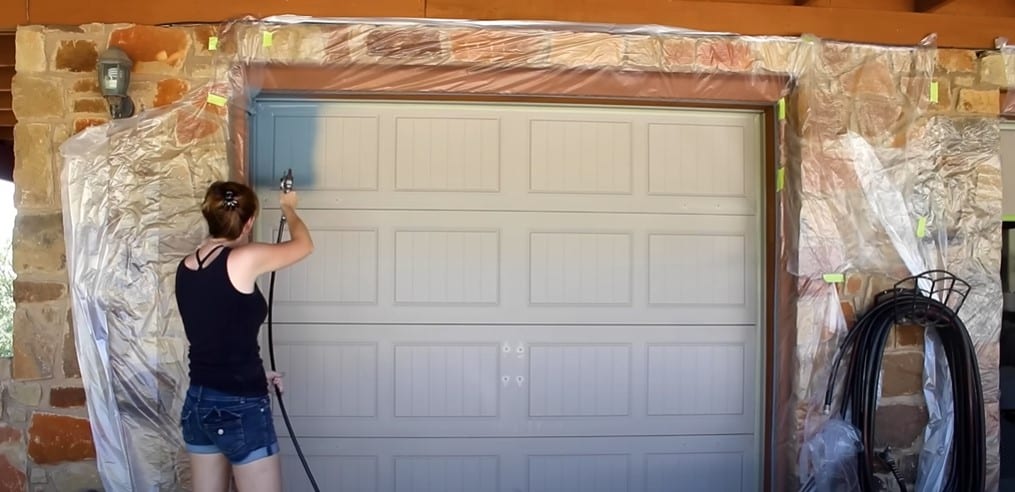
And alllll of that leads up to painting. Prep is like 90% of this job but it’s what will determine a good durable finish so don’t skimp on it. I’ll be using my Wagner Control Pro 170 to spray on my paint but know that an HVLP like the 3500 or even a roller like the ez roller would work as well. I quickly set up my gun, which is nice and simple, then placed my one gallon paint container inside a 10 gallon bucket. This is just incase I knock it over, I won’t get paint all over my driveway.
Then I started spraying! I chose to go vertical as the panels on my doors have those vertical lines however whichever direction you go, you want to aim for 50% overlap. If you do that, you should only need one coat of paint. It took me less than 3 mins per side with my sprayer. If you’re interested in getting an airless then I definitely recommend checking out this Wagner 170.
It features high efficiency airless technology that decreases overspray by up to 55% compared to traditional airless sprayers while delivering softer spray, improving control and providing a more-consistent finish. It’s the perfect addition for the homeowner who wants to save money by doing jobs themselves instead of hiring a contractor.
A tip is right after you get done with painting, raise the door up! This way it will dry flat and if you sprayed a little heavy, the paint won’t drip.
Oh, I forgot to address which kind of paint. It isn’t anything special. Any exterior latex paint will work great.
Step 6: Painting the Garage Door Trim
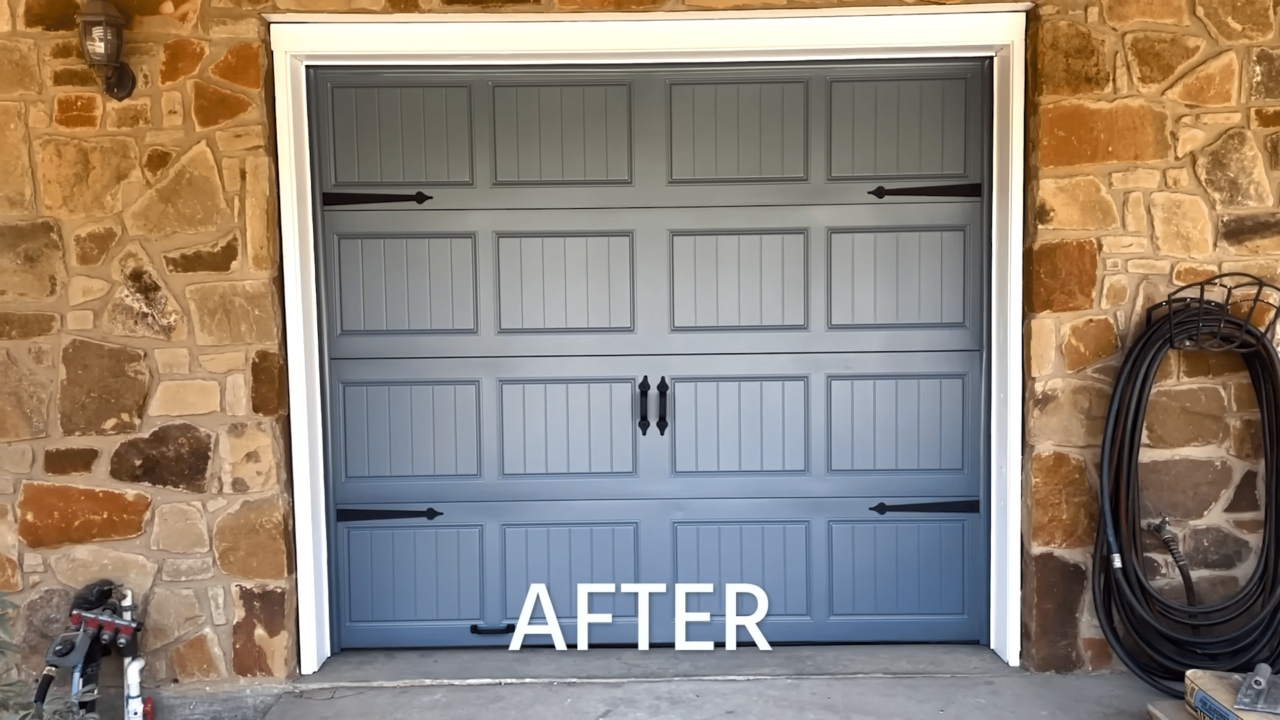
After letting that dry completely, I ripped off the plastic around the doors then started on the final painting step which was painting the trim. It’s at this stage you’ll see me go over all that blue overspray in the previous step. I applied this with a roller and the only thing to really note is I personally left my weather stripping and it’s trim piece, blue but another option is you can raise the garage door when painting the trim and paint it all to match the trim instead.
Conclusion
Lets stand back and admire the change. Man, that stone is even more awful now haha, but doing something with that can be added to the list. I definitely love the blue more than I like the drab beige, and truly what a simple process for such a drastic change. If you have some garage doors that need a makeover then I hope this video inspires you to tackle it come the next nice weathered weekend.
I’ll see you on my next project. Check out the plans listed on my website for inspiration for your next project!
Materials I Used to Upgrade my Garage Door
[ad_2]
Source_link


